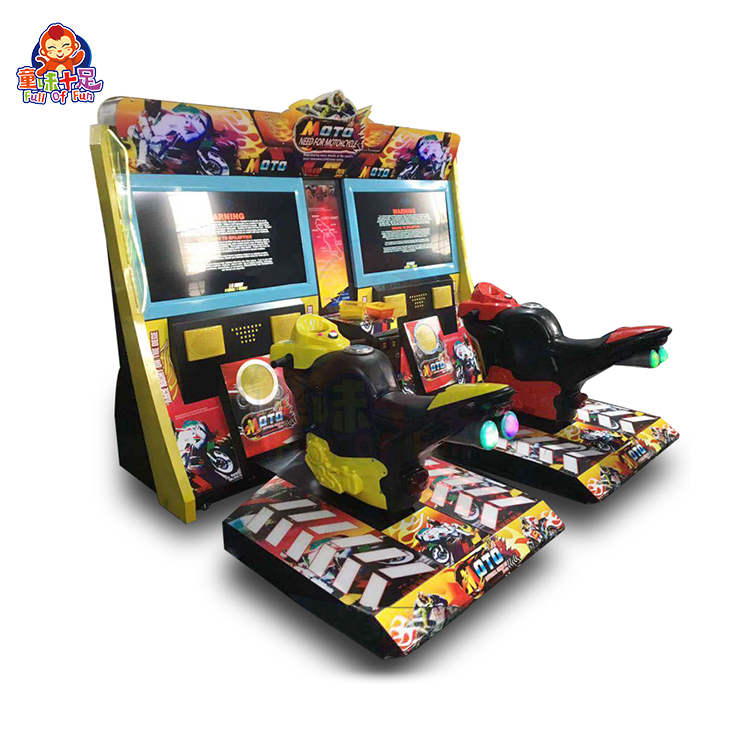
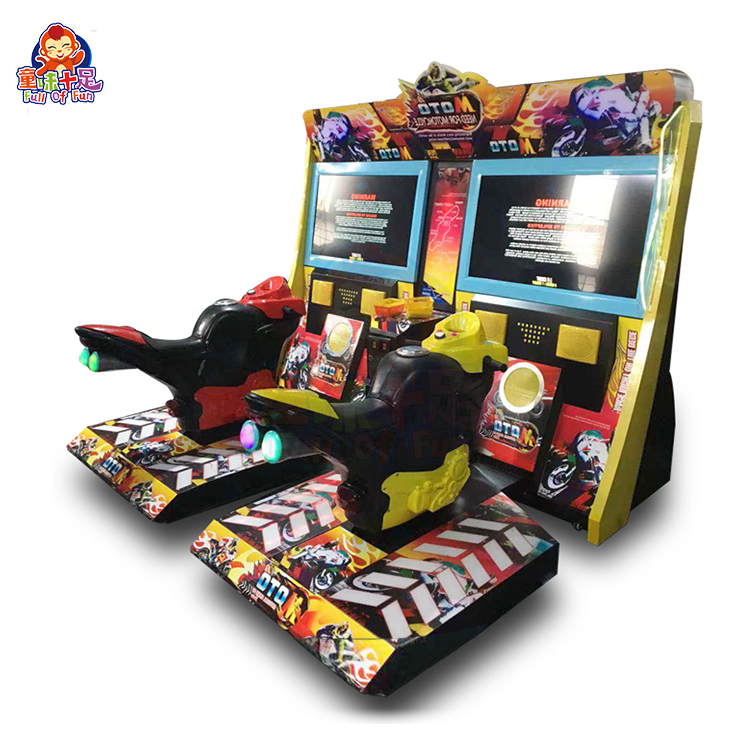
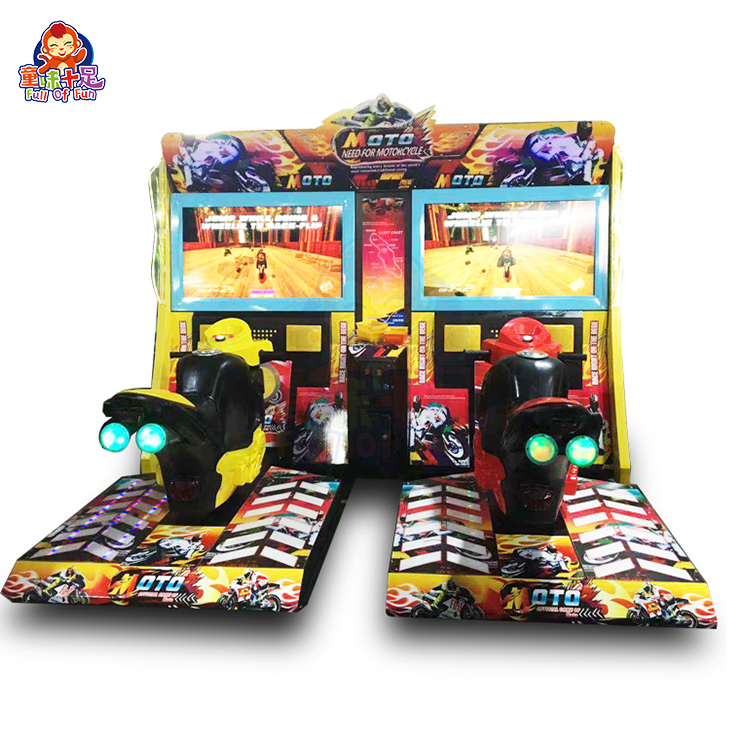
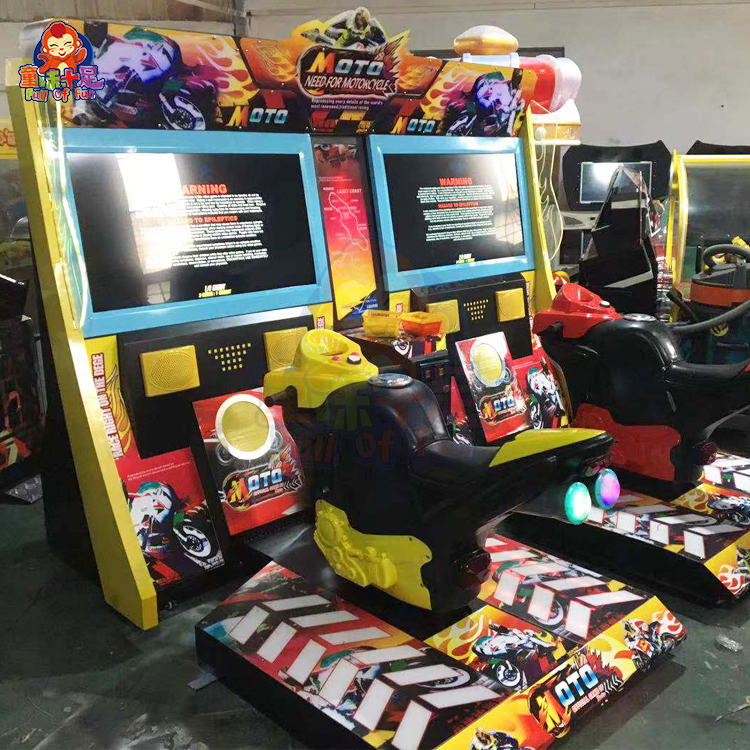
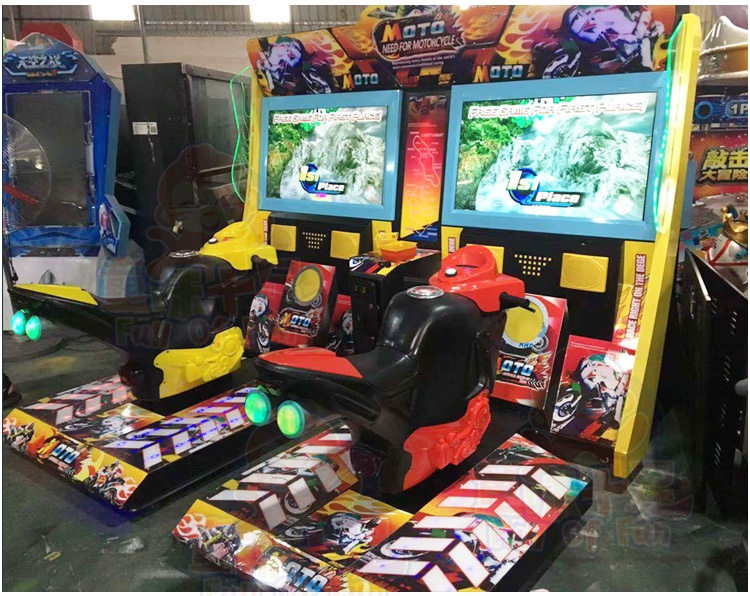
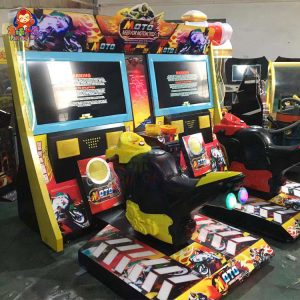
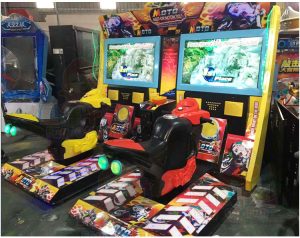
Attractive 2 Players simulator motor racing games arcade machine for amusement park
How To Play
Put in tokens, there is one player and two players mode
Start your competitive journey on the scenic highway
Players take photos to record the ranking, and the game is over if they reach the destination first
The more points you score, the more lottery tickets the system will issue
Setup
-
Unpack Carton
- Place the shipping crate on a flat stable surface.
- Cut the banding straps and remove the cardboard lid.
- Lift off the large cardboard container surrounding the cabinet and any shipping cleats.
- With at least two people and a dolly, remove the cabinet from the shipping pallet.
- Remove the coin door key from the coin return chute.
- Open the top coin door.
- Locate the key for the bottom access panel and the cash box.
-
Setup Main Cabinet
- Using a wheeled cart and at least one assistant, transport the cabinet to a suitable playing area.
- Ensure the main cabinet is level and stable. With at least one assistant, adjust the leg levelers.
- Check the AC line cord for visible signs of damage.Pay particular attention to the plug and line cord insulation.
- Check for shipping damage to the following:Cabinet Marquee, Cabinet back door, Cabinet coin door, Cabinet decals, Monitor.
-
Install Lower Dash Components
- Locate dashboard left, right, and center vacform components.
- Secure vacforms to the center of the dashboard using eight #10-32 x 1-1/4 inch torx screws,eight #10 lock washers, and eight #10 flat washers.
- Secure left and right vacforms to the bottom of the dashboard using four #10-32 torx screws,four #10 lock washers, and four #10 flat washers.
-
Install Upper Dash Components
- Locate marquee left, right, and center vacform components.
- Connect the leader light cable from the main cabinet to the center vacform.
- Secure the center vacform using two #10-32 torx screws, two #10 lock washers, and two #10 flat washers, going through the vacform into the central mounting bracket. Do not tighten fully.Be careful not to pinch the cable between the vacform and the cabinet.
- Using two #10-32 torx screws, two #10 lock washers, and two #10 flat washers, secure the bottom of the center vacform to the marquee grill.
- Secure the left vacform to the mounting point on the top of the marquee, using two #10-32 torx screws, two #10 lock washers, and two #10 flat washers. Do not tighten fully.
- Secure the left vacform to the marquee grill, using three #10-32 torx screws, three #10 lock washers, and three #10 flat washers.
- Repeat steps 4 & 5 for the right vacform.
- Tighten all screws fully.

